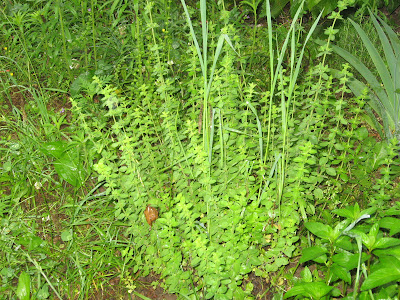
It's time for a new "how to" blog. Well, my oregano is waaaaay overgrown, so I decided to go ahead and dry some herbs for the winter.
See the green bush on the bottom right...no, over a bit more, no left, up....oh never mind. That's oregano. (this has been a difficult year)
Mint
Oregano
And the little tiny pine tree is rosemary. Now, rosemary lasts forever, and I even had fresh rosemary last winter, so I'm leaving it along for now at least.
Cut young fronds. Some of mine were going to seed. Do NOT eat those. You can tell when they are too old as they will be taller, bigger, and the leaves more spread out. They stand out from the other fronds. (oregano)
Rinse them off real well. Do this NOW as it's impossible once it's dried. Line the cut ends up together.
Lay whatever type of string you will use underneath. Do not put too many together. Just a small bunch so they can dry completely.
Tye a square knot. You want it tight, but don't break the stems. Be sure to leave leaves on top of the knot to catch the string so the herbs don't slip and fall.
Hang in an everyday room. The basement is too cold and damp. You want a place you will be normally.
That's it! Now, bear in mind, USING dried herbs of this fashion is different than you're used to if you use "canned" or even fresh herbs. Take a leaf or too CAREFULLY off so as not to lose other leaves, and crush in your hand over the food. The crushing releases oils that will make it taste like you're using fresh. If you chop the herbs or crush them before hand, you'll lose all flavor and you might as well go buy them from the store. (I've bought plenty, as you can plainly see, so I'm not bashing that) If you've only ever used store bought, test this in a well known recipe, and go gently, as you are probably not used to the flavor. ENJOY!!


No comments:
Post a Comment
Oh! Thank you for commenting!